Introduction to podcast equipment
The idea is just the starting point for creating a quality podcast. Then, you need to focus on achieving good sound, and the podcast microphones we’ll discuss in this article can help you achieve that.
The microphone is the tool that captures your voice and shares it with the world. Choosing the right microphone is crucial: it makes the difference between clear, professional audio and one that sounds amateur.
In addition to microphones, there are other essential components that contribute to high-quality audio production, even at home. At the end of this article, we’ll also explore the key elements for achieving an effective home recording setup.
Podcast microphones
Microphones are the main tool for capturing your voice and that of your guests. The market offers various types, each with its own characteristics and advantages. For instance, dynamic microphones are durable and ideal for noisy environments, while condenser microphones, being more sensitive, capture subtle nuances in the voice.
The choice of the right microphone depends on several factors, such as your budget, recording location, and the style of your podcast. A condenser microphone might be ideal for an ASMR podcast recorded in a soundproof studio, while a dynamic microphone would be more suitable for recording at home or during an event with significant background noise. This choice, as we’ll see, is crucial to the final audio quality.
Essential accessories
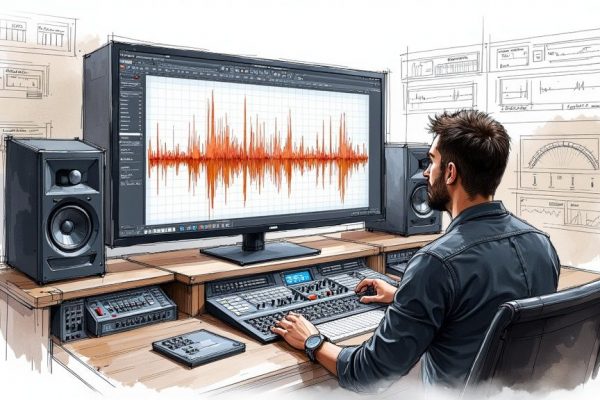
While the microphone is fundamental, it’s not the only important component. For a complete and professional recording experience, you’ll need other equipment to complement your setup. These additional elements will help you control, process, and enhance your podcast audio.
- Headphones: Headphones allow you to listen to audio in real time while recording. This helps you instantly identify any sound issues or background noise. Imagine trying to record without hearing your own voice—it would be impossible to control the outcome!
- Audio interface: The audio interface connects your microphone to your computer, converting the analog signal into digital. This allows you to record high-quality audio directly into your editing software. It’s an essential bridge between your voice and the digital world.
- Editing Software: With editing software, you can clean up audio, remove unwanted noise, and add special effects. It’s the tool that polishes your podcast and gives it a professional touch, much like an editor refining a text before publication.
- Pop filter: A pop filter is placed in front of the microphone and reduces explosive sounds from "p" and "b" consonants. This improves audio clarity by eliminating those small noises that can distract listeners.
- Arm: An articulated arm lets you position the microphone perfectly to capture your voice clearly and consistently. It prevents the need to constantly adjust the microphone’s position, making the recording process much smoother.
With the right equipment, your idea can transform into a professional and engaging podcast. Choosing the microphone is just the first step in this exciting process. Now, let’s dive into the different types of microphones available.
Microphone types
As we mentioned, choosing the right microphone is essential for a quality podcast. To help you navigate the available options, let’s explore the most common types and their ideal uses. Understanding the differences between them will allow you to make an informed decision and achieve the best sound for your podcast, ensuring clear and enjoyable audio for your listeners.
Dynamic Microphones:
Dynamic microphones are known for their durability and ability to handle high sound pressure levels. They are ideal for recording in noisy or mobile environments, as they are less sensitive to vibrations and background noise. For example, if you plan to record interviews at busy events or if your recording space is not soundproof, a dynamic microphone might be the best choice. Their resilience makes them perfect for podcasters who travel or need a microphone that can withstand frequent use. Additionally, they are often more affordable than condenser microphones.
Condenser microphones:
Condenser microphones are much more sensitive than dynamic ones. They capture a wider frequency range and provide greater precision in audio reproduction. This results in a richer, more detailed sound, ideal for capturing the nuances of the voice. If your podcast focuses on storytelling, music, or any audio that requires high fidelity, a condenser microphone is an excellent choice. However, this sensitivity also makes them more prone to picking up background noise, so it's important to use them in a quiet and controlled environment.
USB vs XLR microphones:
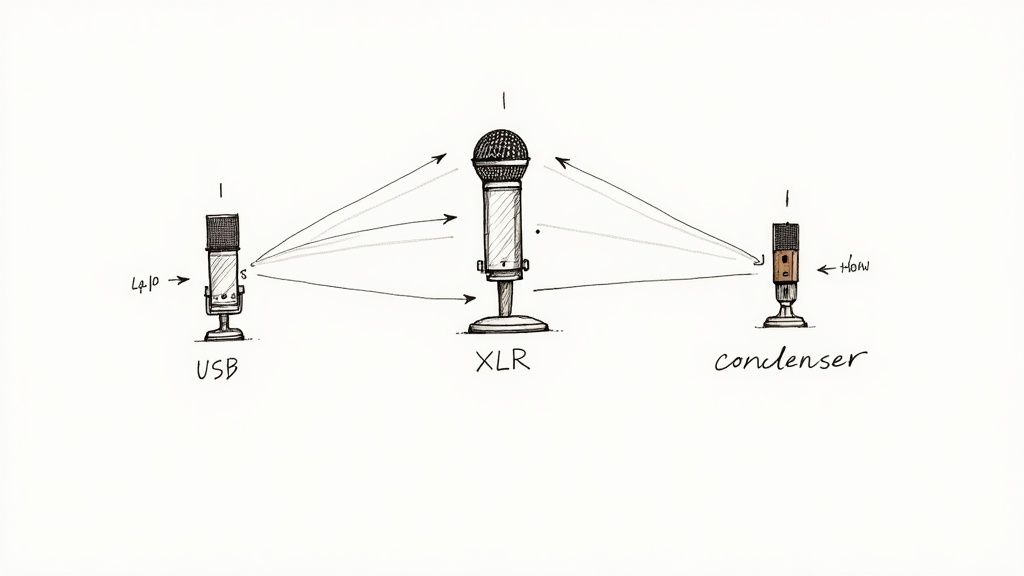
In addition to the type of microphone, you should consider how it connects to your computer. USB microphones offer a straightforward, "plug-and-play" connection, making them ideal for beginners or those seeking a simple setup. XLR microphones, on the other hand, require an audio interface, which adds complexity but provides greater flexibility and control over the sound. XLR connections are preferred by professionals for their audio quality and compatibility with professional equipment. The choice between USB and XLR will depend on your needs and experience.
Choosing between dynamic and condenser microphones, as well as USB and XLR connections, can seem daunting at first. However, by understanding the features of each type, you’ll be able to find the perfect microphone for your podcast. Audio quality is crucial to attracting and retaining your audience, so investing in a good microphone is an investment in the success of your podcast. Now, let’s talk about budget.
Budget considerations
Choosing the right microphone involves considering several factors, and budget is one of the most important. As with any tech equipment, microphone prices range widely, from affordable options to high-end professional models. Understanding the differences between these ranges will help you make a wise investment and get the best value for your money, ensuring excellent audio without exceeding your financial limits.
Cheap Microphones (Less than €100)
If you're just starting out and have a limited budget, there are excellent microphones available at affordable prices. Many dynamic USB microphones fall within this price range, offering decent sound quality for under $100 USD. They are ideal for beginners looking for a simple option without compromising quality and are perfect for experimenting to find the type of microphone that best suits your voice and style.
In this range, you'll find the best value-for-money microphone we know of. It’s the Samsun Q2U which you can purchase from many online stores. It’s a USB/XLR dynamic microphone that will allow you to achieve very good sound quality without the need for an audio interface.
Mid-range microphones (100–300$)
If you're looking to improve audio quality as your podcast grows, mid-range microphones offer a balance between price and performance. In this range, you can find condenser microphones with XLR or USB connections that provide greater sensitivity and clearer sound. For podcasts with interviews, this investment enhances the clarity and professionalism of the audio. Some microphones in this range include features such as adjustable polar patterns, allowing you to control the direction of sound capture and adapt the microphone to different recording situations.
Professional microphones (over 300$)
For those seeking the highest audio quality, professional microphones offer exceptional performance. These microphones, commonly used in professional studios, capture subtle nuances in the voice and minimize background noise. If your podcast focuses on music or storytelling, a high-end microphone can be a valuable investment. However, an expensive microphone alone doesn’t guarantee great audio—recording technique and environment are equally important. It’s like having a great car: you need to know how to drive it to fully harness its potential. Now, let’s talk about the recording space.
Preparing your recording space
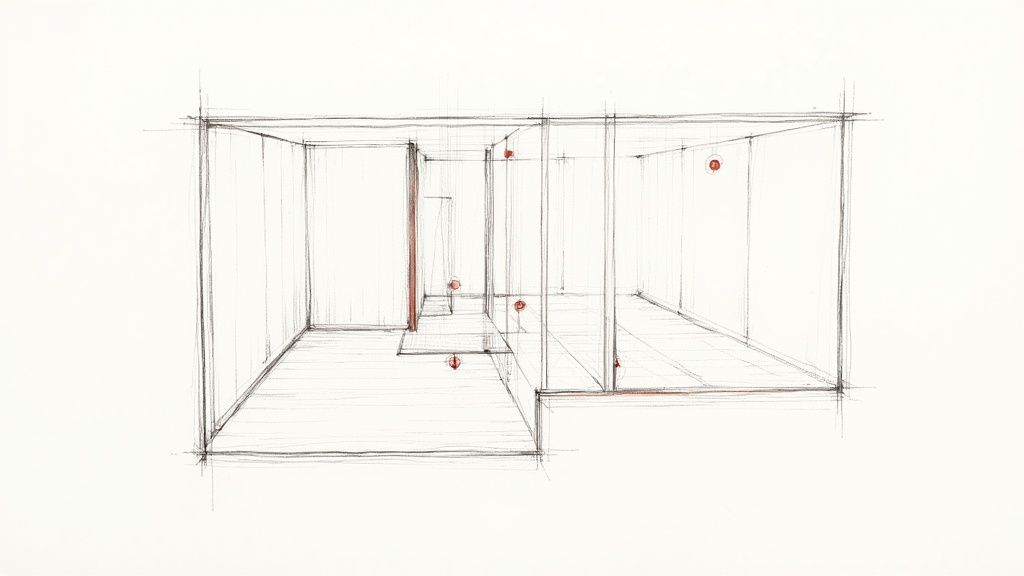
After choosing your microphone, the next step is to prepare your recording space. A suitable environment minimizes unwanted noise and allows you to capture clean, professional audio. The difference between recording in a quiet room and on a busy street is significant. Optimizing your space is just as important as selecting the right microphone.
Reducing background noise
The first step to creating a good recording space is minimizing background noise, including ambient sounds like traffic, air conditioning, computer noise, and echo. Recording in a closet full of clothes can be an effective solution, as the clothes absorb sound. You can also invest in acoustic panels or thick blankets to cover walls and windows, creating a quieter environment so your microphones can capture your voice clearly.
The importance of soundproofing
In addition to reducing external noise, it’s important to isolate your space from vibrations, which can travel through the floor and walls, affecting the audio. Place your microphone on a shock mount or elastic suspension to absorb vibrations, ensuring clean and interference-free sound. It’s similar to a car’s suspension, which absorbs bumps for a smoother ride.
Microphone placement
Once noise and vibrations are under control, find the optimal position for your microphone. The distance and angle relative to your mouth affect sound quality. Experimenting will help you discover the ideal spot that captures your voice clearly and naturally. Speaking too close causes distortion, while speaking too far results in weak audio. Start by placing the microphone about 15 centimeters from your mouth, slightly off-center, and adjust the position until you find the perfect setup.
Software and testing
Finally, test your setup with your recording software. Record a sample and listen to it to identify any noise or echo issues. Adjust the microphone and software settings until you achieve the desired result. Good audio is essential for a successful podcast, and a well-configured recording space is key. With the right combination of microphone and environment, you'll be ready to share your voice. Now, let’s explore some recording techniques.
Recording techniques
Once you’ve chosen your microphone and prepared your space, mastering recording techniques is essential to achieving high-quality audio. A good microphone alone isn’t enough; how you use it greatly influences the final result. It’s like a chef with the finest ingredients—if they don’t know how to cook them, the dish won’t turn out well.
Microphone placement
The distance between your mouth and the microphone is crucial. Too close, and the audio distorts; too far, and the sound becomes weak and picks up more background noise. The ideal distance is typically between 15 and 20 centimeters, but experiment to find the sweet spot for your microphone.
The right angle
The angle also matters. Speaking directly into the diaphragm produces a sound that is too direct. A slight angle, between 30 and 45 degrees, is usually more natural and pleasant, minimizing plosive sounds and capturing a fuller sound.
Voice control
Maintain a consistent volume during recording to simplify editing and achieve professional-quality audio. Speak clearly and project your voice without shouting. Practice reading aloud to control your breathing and intonation. Clear and well-modulated audio is more engaging for listeners.
Real-time monitoring
Use headphones to monitor audio in real time and detect any issues, such as background noise, distortion, or inconsistent volume, correcting them immediately. Headphones are your best allies for a flawless recording.
Constant experimentation
There’s no magic formula. Experiment with distances, angles, and techniques to find what works best for you and your microphone. Record tests and listen to them carefully. Practice is key to finding your style and producing professional-quality audio. Next, let’s cover some tips on maintenance.
Maintenance and care
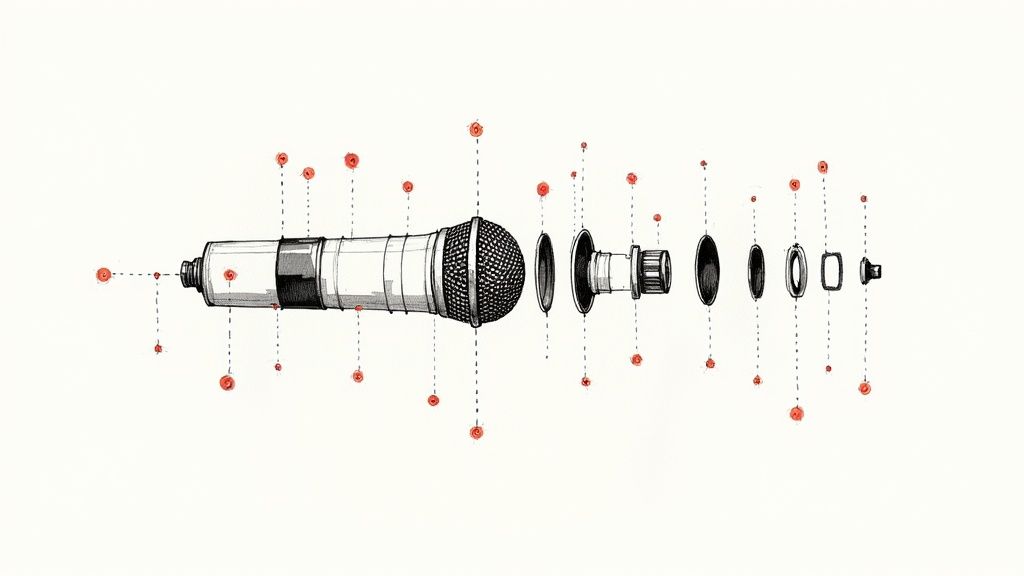
Taking care of your microphones and equipment is essential to ensure their longevity and optimal performance. Like a musical instrument, they require regular maintenance to function properly, extend their lifespan, and maintain the audio quality of your podcast.
Regular cleaning
Clean your microphones regularly. Dust, dirt, and saliva can affect audio quality. Use a soft brush or a microfiber cloth dampened with distilled water. Avoid using abrasive chemicals and make sure the microphone is completely dry before use.
Proper storage
Store your microphones in a protective case or their original box when not in use. This will protect them from dust, moisture, and impacts. Avoid extreme temperatures and direct sunlight.
Cables and connectors
Inspect cables regularly for damage. If you find any, replace them immediately. Do not wrap cables too tightly, as this can cause internal damage.
Preventive maintenance
Perform periodic preventive maintenance. If you use condenser microphones, check the phantom power. For any doubts or issues, consult a technician. A little preventive maintenance can help avoid long-term problems.
With proper care, your equipment will provide you with years of reliable service. This maintenance saves you money and allows you to focus on creating quality content.
Ready to take your podcast to the next level? Mumbler is the all-in-one podcast hosting platform that helps you manage, distribute, and monetize your content. Discover Mumbler today create a free account, and publish your podcast on all platforms.
About the author
Content Manager at Mumbler.
Podcaster and content creator.
Passionate about communication and a fan of the WordPress community.
I talk about movies and series on Babel Infinito.
I talk about podcasting on Todo por Un Podcast.
