Understanding audio normalization is essential for achieving balanced and professional sound. Whether you’re working on music, podcasts, or video production, knowing the difference between peak normalization and LUFS normalization can make a huge impact on your final mix.
In this guide, we’ll explore advanced techniques to maintain dynamic range, optimize audio for streaming platforms like Spotify and YouTube, and avoid common pitfalls. Master these strategies to ensure your audio sounds clear, consistent, and professional across all devices.
Mastering the fundamentals of how to normalize audio

Audio normalization is essential for achieving a well-balanced sound mix. Unlike compression, which modifies dynamics, normalization focuses on adjusting the overall volume level of a track without distorting it. To fully understand this process, it’s important to grasp some basic concepts about how we perceive sound and how it is measured technically.
Perceived Volume vs. Audio Peaks
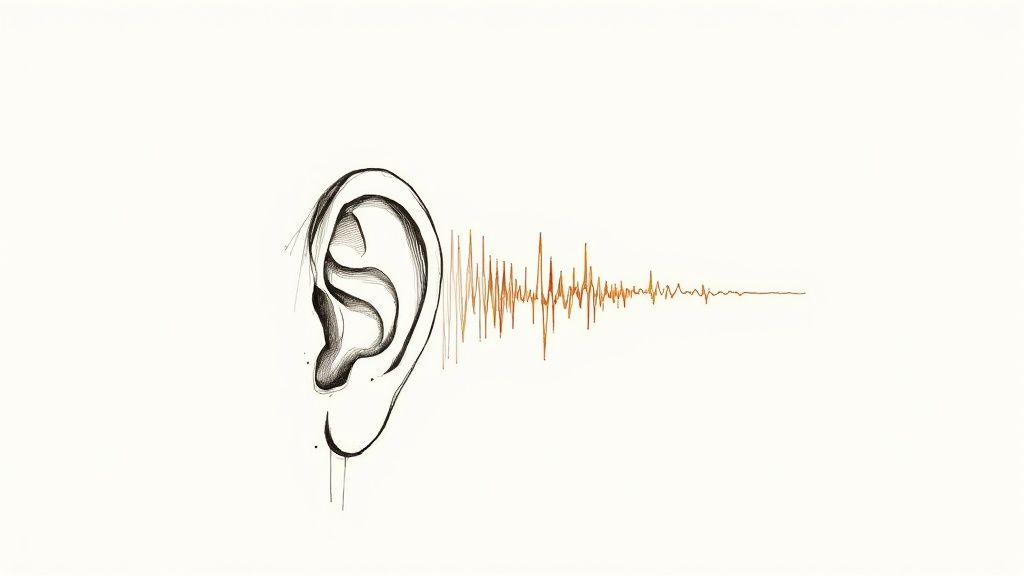
Our ears interpret volume differently from how equipment measures it. For example, a song may have very high peaks in the drums but still sound overall quiet. Normalization allows us to raise that overall volume without causing distortion from the peaks. This balance was particularly important during the "loudness war" of the 1940s and 1950s with vinyl records and became even more relevant in the CD era of the 1980s when the increased dynamic range required more precise control.
When to Normalize Audio?
Normalization is primarily needed in two cases. First, when a recording has a very low level, and we need to boost it without introducing noise. Second, when working with multiple tracks recorded under different conditions, such as in a podcast with multiple participants. In this case, normalization ensures that all voices are heard at the same level, creating a more professional and enjoyable listening experience.
Benefits of Audio Normalization
Normalization offers clear advantages for any audio project. It maximizes the dynamic range without distortion and maintains consistency across different tracks or sections. For example, in a song, it prevents some parts from sounding too quiet or too loud compared to others. It is also crucial for preparing audio according to platform standards like Spotify or YouTube, which use LUFS measurements to regulate volume. By normalizing beforehand, we gain more control over how our content will sound on these platforms, ensuring a uniform experience for listeners.
Navigating the Types of Normalization
When working with audio, it’s essential to know the different normalization methods available. The two main types are peak normalization and loudness normalization (LUFS). While both techniques aim to adjust volume, each serves a specific purpose and works differently. Understanding when to use each type will help you achieve better results in your audio projects.
Peak Normalization: Controlling Maximum Levels
Peak normalization is a straightforward process that analyzes an audio signal to find its highest peak. Once identified, it adjusts the overall volume so that this peak reaches a specific level, such as -1dB. If you have a song where the drums are very loud but the bass is quiet, peak normalization will focus on the drums as the highest point. Because of this, while this method is excellent for preventing digital distortion, it may leave other parts of the mix too low. It’s ideal for quick tasks where you just need to ensure there’s no clipping.
Loudness Normalization (LUFS): Prioritizing Human Perception
LUFS normalization works very differently, as it is based on how humans perceive volume. Instead of focusing only on peaks, it analyzes the overall intensity of the audio throughout its duration. For example, two podcasts normalized to the same LUFS level will sound equally loud even if they have different peak levels. This method, based on the EBU R 128 standard, is currently used by platforms like Spotify and YouTube. It is especially useful for content that requires consistent volume, such as a podcast with multiple participants recorded on different equipment.
Choosing the Right Tool for Each Project
Deciding between peak normalization and LUFS depends on your final goal. For individual files where you only need to prevent distortion, peak normalization is sufficient. However, for music or podcasts intended for streaming platforms, LUFS normalization is necessary. In many cases, the best approach is to combine both techniques: first, normalize by LUFS to achieve consistent volume, and then apply peak normalization to prevent any clipping. Mastering these two types of normalization will allow you to optimize your audio for any medium or platform.
Essential Tools for Professional Results
To achieve effective audio normalization, having the right tools is essential. From free options to professional software, there are solutions to fit every need and budget. Let’s explore the main options available.
Audio Editing Software (DAW)
Digital Audio Workstations (DAWs) include basic functions for normalizing audio. Audacity, for example, offers free normalization through its "Effect" menu. GarageBand comes pre-installed on Apple devices, while professional options like Pro Tools, Logic Pro X, and Ableton Live provide greater control for both peak and LUFS normalization. The advantage of using a DAW is that you can seamlessly integrate normalization into your workflow.
Specialized Plugins
For more precise control, there are dedicated normalization plugins. These tools offer advanced algorithms that better preserve audio dynamics and allow batch processing of multiple files, making them ideal for normalizing sound libraries or podcast episodes. While these plugins are often paid, they are an excellent investment for professionals who need to optimize their workflow.
Online Tools for Audio Normalization
Online tools are a convenient option when you need to normalize audio quickly without installing software. You simply upload your file to a website and process it in your browser. However, keep in mind that these tools typically offer fewer features than a DAW or professional plugin. They are great for quick adjustments, but for professional work, specialized software is recommended—especially considering the privacy of your files.
Recommendations for Choosing the Right Tool
The choice of tool depends on your specific needs. For beginners or simple projects, Audacity or GarageBand are excellent free options. If you work professionally with audio, a DAW like Pro Tools or Logic Pro X will give you more control and flexibility. Specialized plugins are perfect for refining normalization and streamlining workflows, especially for repetitive tasks or those requiring high precision. The key is understanding the differences between peak normalization and LUFS to make the most of your tools and achieve a professional sound.
Advanced Techniques That Make a Difference
After mastering the basics of audio normalization, it’s time to explore more precise techniques to achieve professional results. These techniques go beyond the basic normalization process and focus on preserving the quality and musical expression of the original sound.
Preserving Musical Dynamics During Normalization
Normalization can negatively impact the dynamics of a musical piece if not applied correctly. For example, when normalizing a track with high peaks, like a drum hit, the rest of the elements may sound too low.
To maintain natural dynamics, we can use LUFS normalization combined with compression. This method controls intense peaks before normalization, preventing them from affecting the overall level. Additionally, specialized plugins with intelligent algorithms can analyze the audio to preserve its dynamic changes.
Batch Normalization: Efficiency in Workflow
When working with multiple files, such as a library of sound effects or podcast episodes, normalizing them one by one is time-consuming. Batch normalization automates this process by applying the same adjustments to multiple files simultaneously.
Most DAWs include this function, saving time and ensuring consistency. For example, in a podcast series, batch normalization guarantees that all episodes maintain a similar volume, improving the listener’s experience.
Integrating Normalization Into the Mastering Process
Normalization plays a crucial role in mastering. After applying EQ and compression, it serves as the final step to achieve the desired loudness. However, it’s important to understand that normalization complements but does not replace proper mastering.
A common practice is to apply LUFS normalization at the end to meet the standards of platforms like Spotify or YouTube, followed by subtle peak normalization to prevent digital distortion. This combination ensures an optimal volume level without compromising dynamics.
Preserving Transients for a Natural Sound
Transients, such as the attack of a drum or guitar, are essential for the energy of a recording. However, normalization can reduce their impact if not handled carefully.
To protect transients, we can use soft limiting or look-ahead processing in plugins. These techniques anticipate peaks and adjust volume with greater precision, preserving the dynamic character of the sound. It’s crucial to listen carefully after normalization to ensure that transients retain their definition and clarity.
Optimization for Digital Platforms
The normalization process goes beyond audio editing software. To ensure our recordings sound good across different digital platforms, we need to understand each one’s specific requirements. Platforms like Spotify, YouTube, and Apple Music have their own audio standards.
Spotify: Consistency is Key
Spotify processes all audio at -14 LUFS. For example, if we upload a track at -12 LUFS, the platform will automatically lower its level. To maintain control over the final sound, it’s best to normalize directly to -14 LUFS before uploading. Think of it like adjusting a car’s speed limit—going over it will have consequences (in this case, audio distortion). Spotify also recommends not exceeding -1dBTP in True Peak.
YouTube: Adapting to Dynamic Content
Like Spotify, YouTube normalizes to -14 LUFS, but it processes audio differently. For instance, in a video with both soft dialogue and loud explosions, the platform adjusts levels to ensure the voices remain intelligible, even if it reduces the impact of other sounds. YouTube prioritizes clarity for the viewer, so testing audio on different devices before publishing is essential.
Apple Music: Preserving Audio Fidelity
Apple Music takes a different approach. While it applies normalization, it aims to preserve the original dynamics of the music as much as possible. This means volume changes within a song remain more faithful to the artist’s intent. However, normalizing the audio beforehand is still important to ensure a good listening experience.
Podcasts: Vocal Clarity Comes First
For podcasts, the primary concern is ensuring clear speech. Most platforms recommend normalizing to -16 LUFS with a maximum peak of -1dBTP. This ensures voices remain intelligible and consistent across different devices. If background music is used, it should be mixed carefully to avoid overpowering the dialogue.
Maintaining Consistency Across Platforms
Achieving a consistent sound across platforms can be challenging. A good practice is to normalize first to -16 LUFS and then create platform-specific versions. Some tools automate this process, saving time without sacrificing quality. By understanding each platform’s characteristics and applying the correct normalization, we can ensure our audio sounds great everywhere.
Solutions to Common Problems
Audio normalization challenges are common, but knowing how to address them will help you achieve professional results. Here are some frequent issues and their solutions.
Over-Compression: A Silent Enemy
Many people confuse normalization with audio compression. While both affect volume, excessive compression can ruin the sound. It’s like an over-contrasted photo—details get lost, and the result feels artificial. To avoid this, use normalization only for adjusting overall loudness and apply compression only when necessary for dynamic control.
Loss of Dynamics: Keeping Expressiveness
A common issue after normalization is loss of dynamics, especially when aggressive peak normalization is applied to transient-heavy tracks like drums. To maintain natural expressiveness, it’s better to use LUFS normalization, which considers perceived loudness rather than just peaks. Soft limiting can also help control peaks without affecting overall dynamics.
Incorrect Settings: Precision Matters
Configuration errors can ruin the final result. For example, using the wrong LUFS value can make audio too loud or too quiet on certain platforms. It’s also crucial not to exceed the True Peak limit to prevent distortion. Think of it like following a recipe—if measurements aren’t precise, the outcome won’t be as expected. Always check each platform’s specifications and use reliable metering tools.
Diagnosis and Correction: Tools for Accuracy
To identify issues, you need specific tools like LUFS and True Peak meters. Good studio monitors or headphones will also help detect subtle changes in dynamics and potential distortion. If dynamics are compromised, try reducing normalization intensity or using restoration plugins. If volume is off, adjust the LUFS value until the desired level is achieved. Precision and attention to detail are key.
For professional audio management and distribution, we recommend Mumbler, an all-in-one podcast hosting platform.
About the author
Content Manager at Mumbler.
Podcaster and content creator.
Passionate about communication and a fan of the WordPress community.
I talk about movies and series on Babel Infinito.
I talk about podcasting on Todo por Un Podcast.